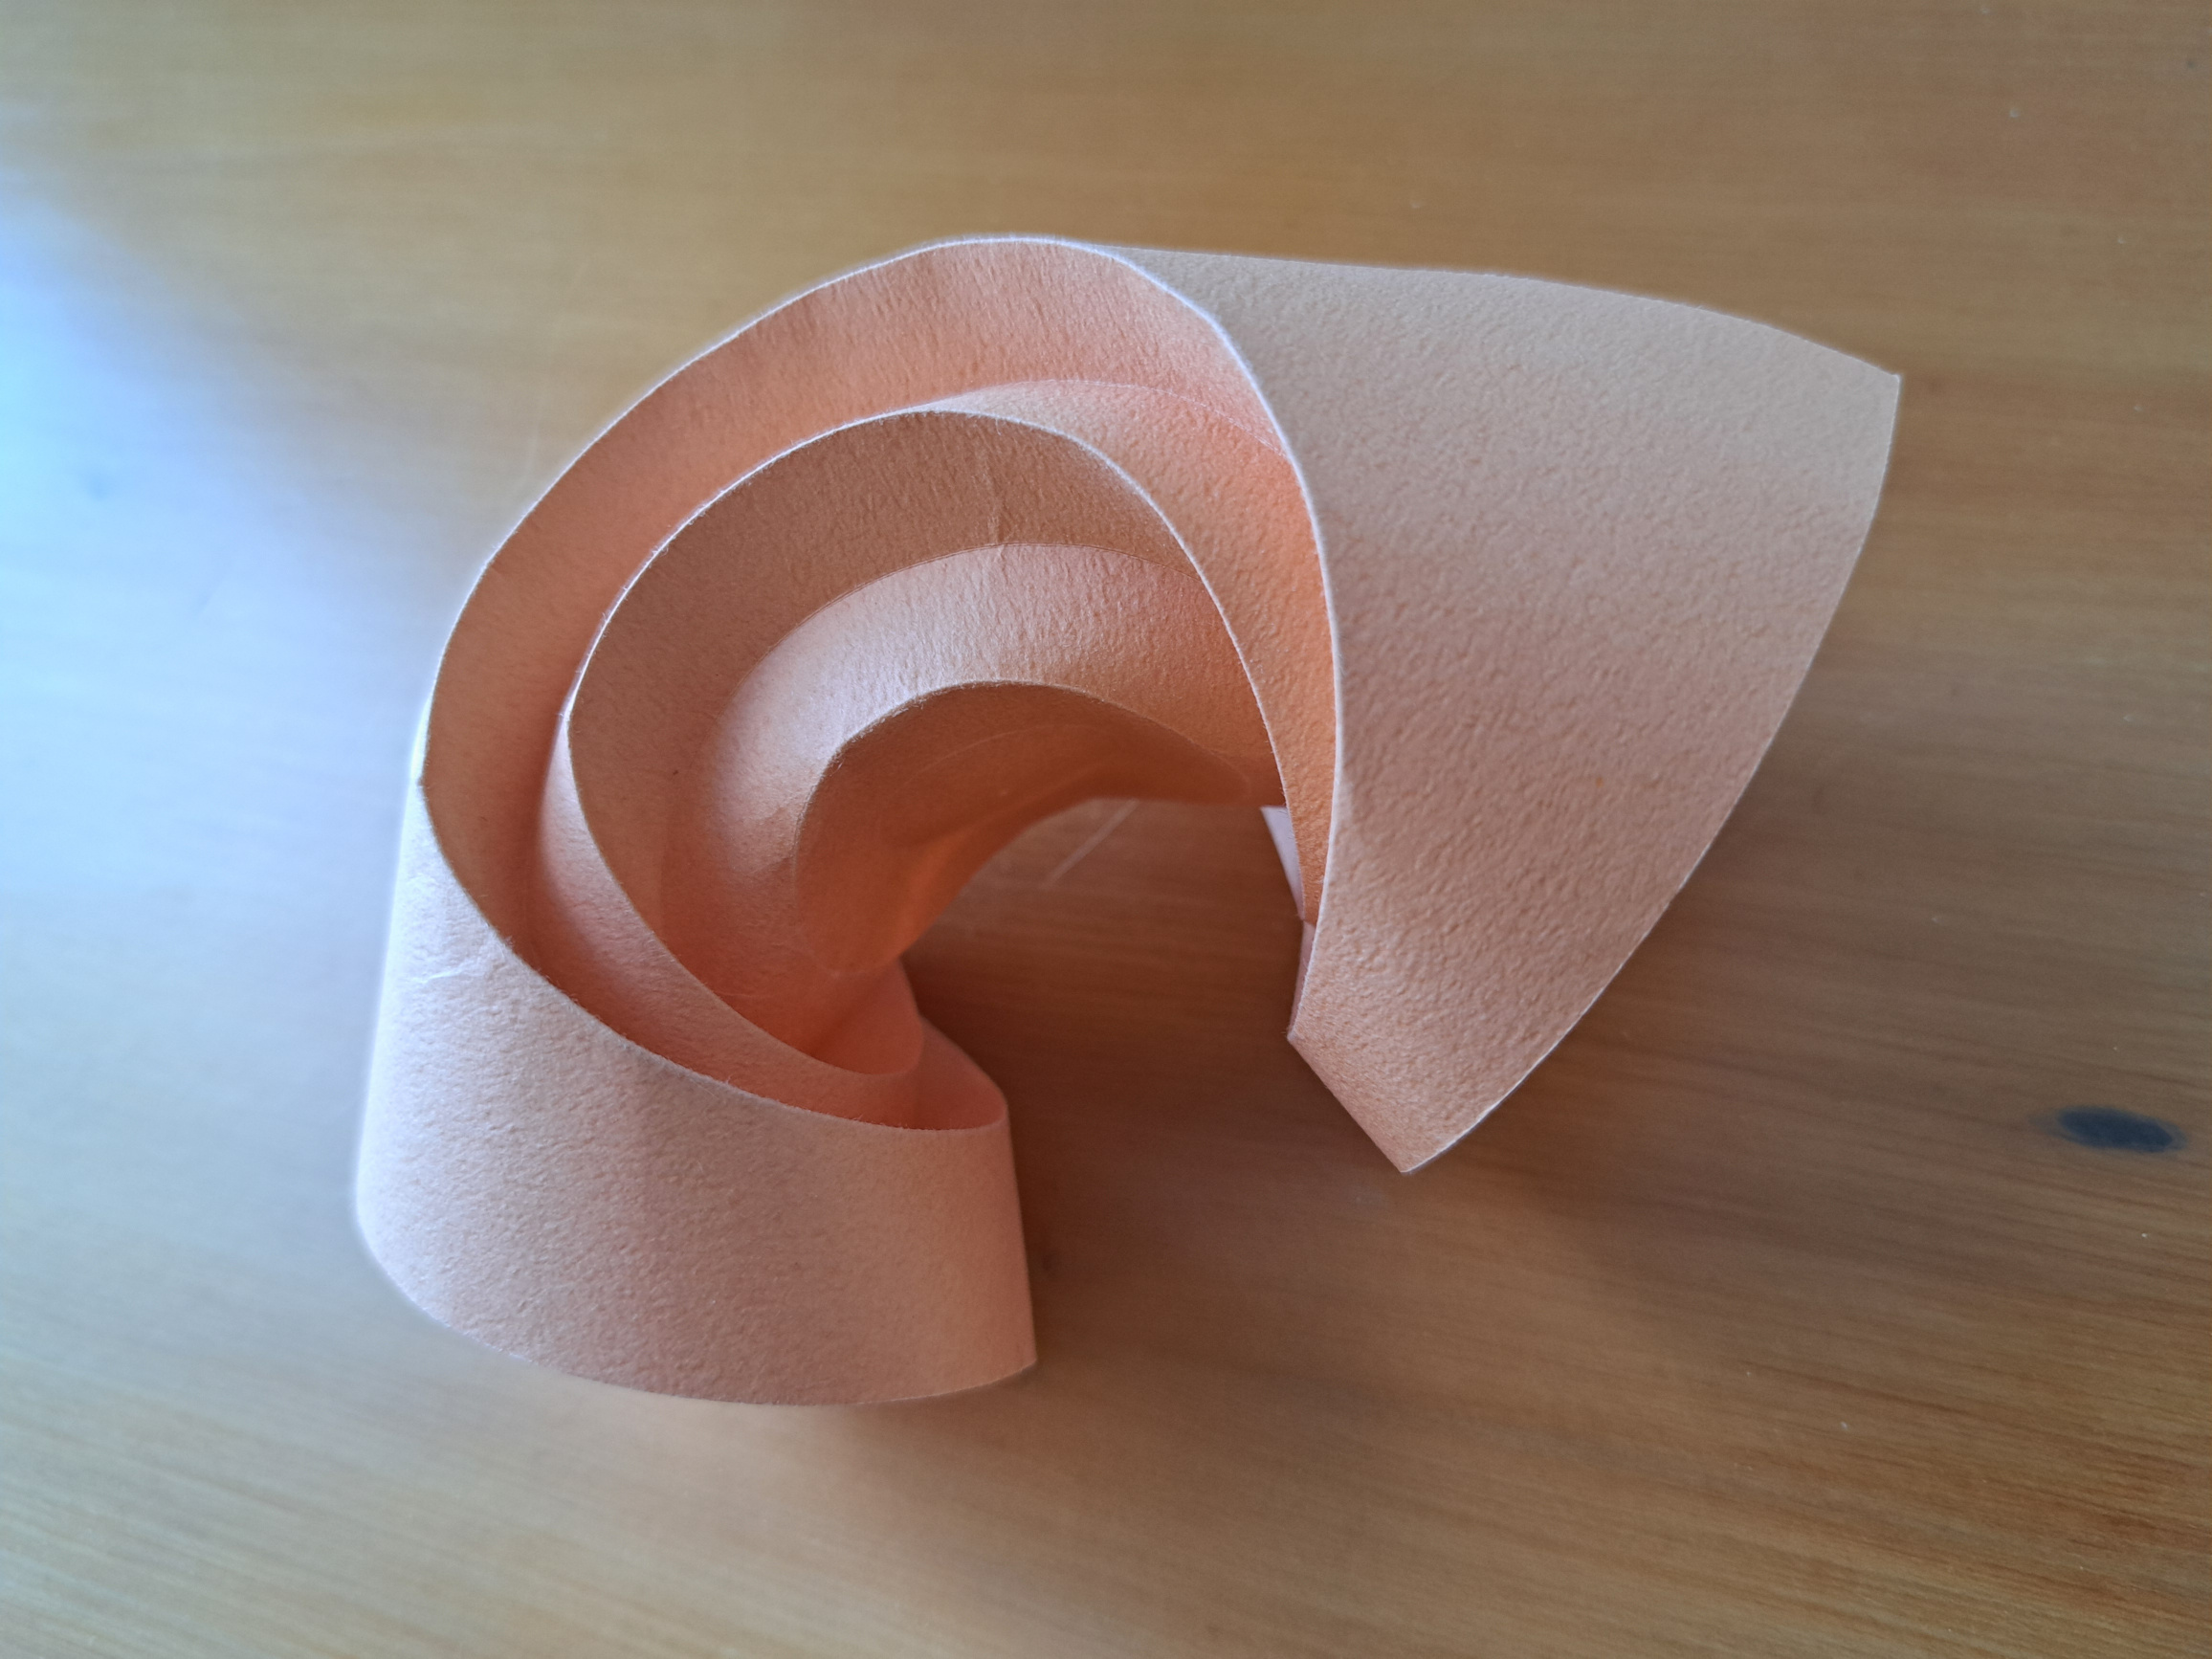
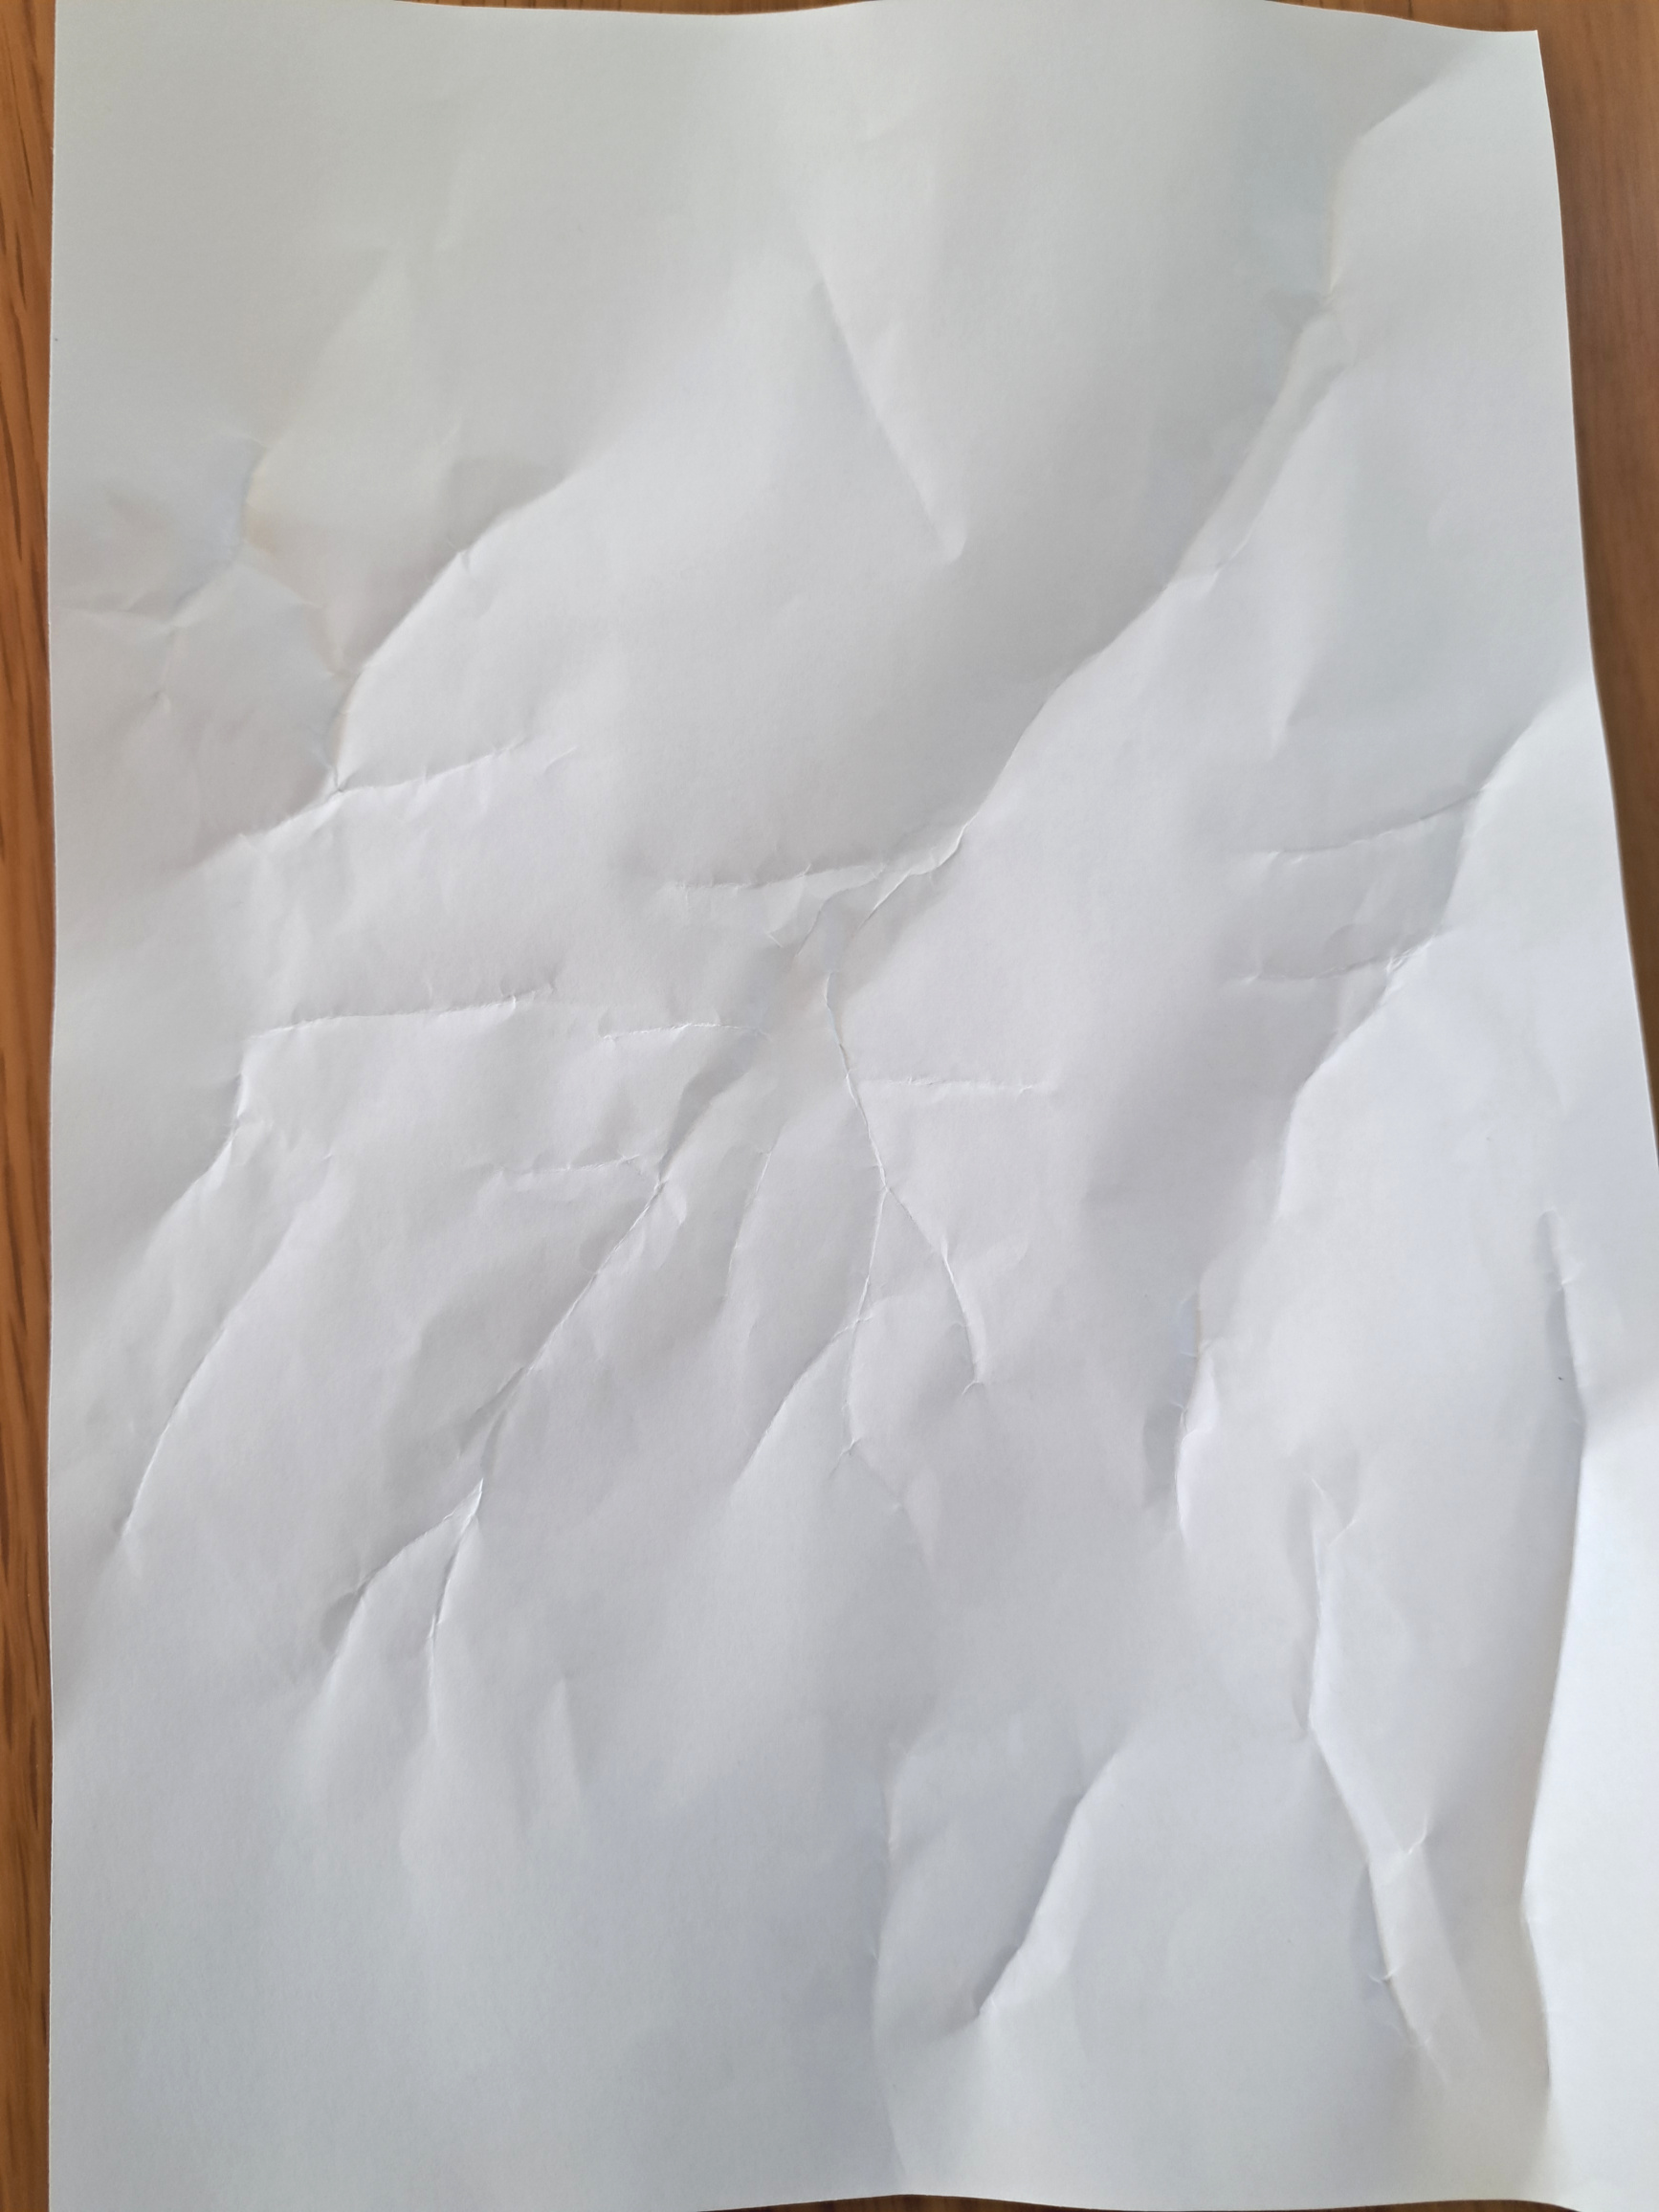
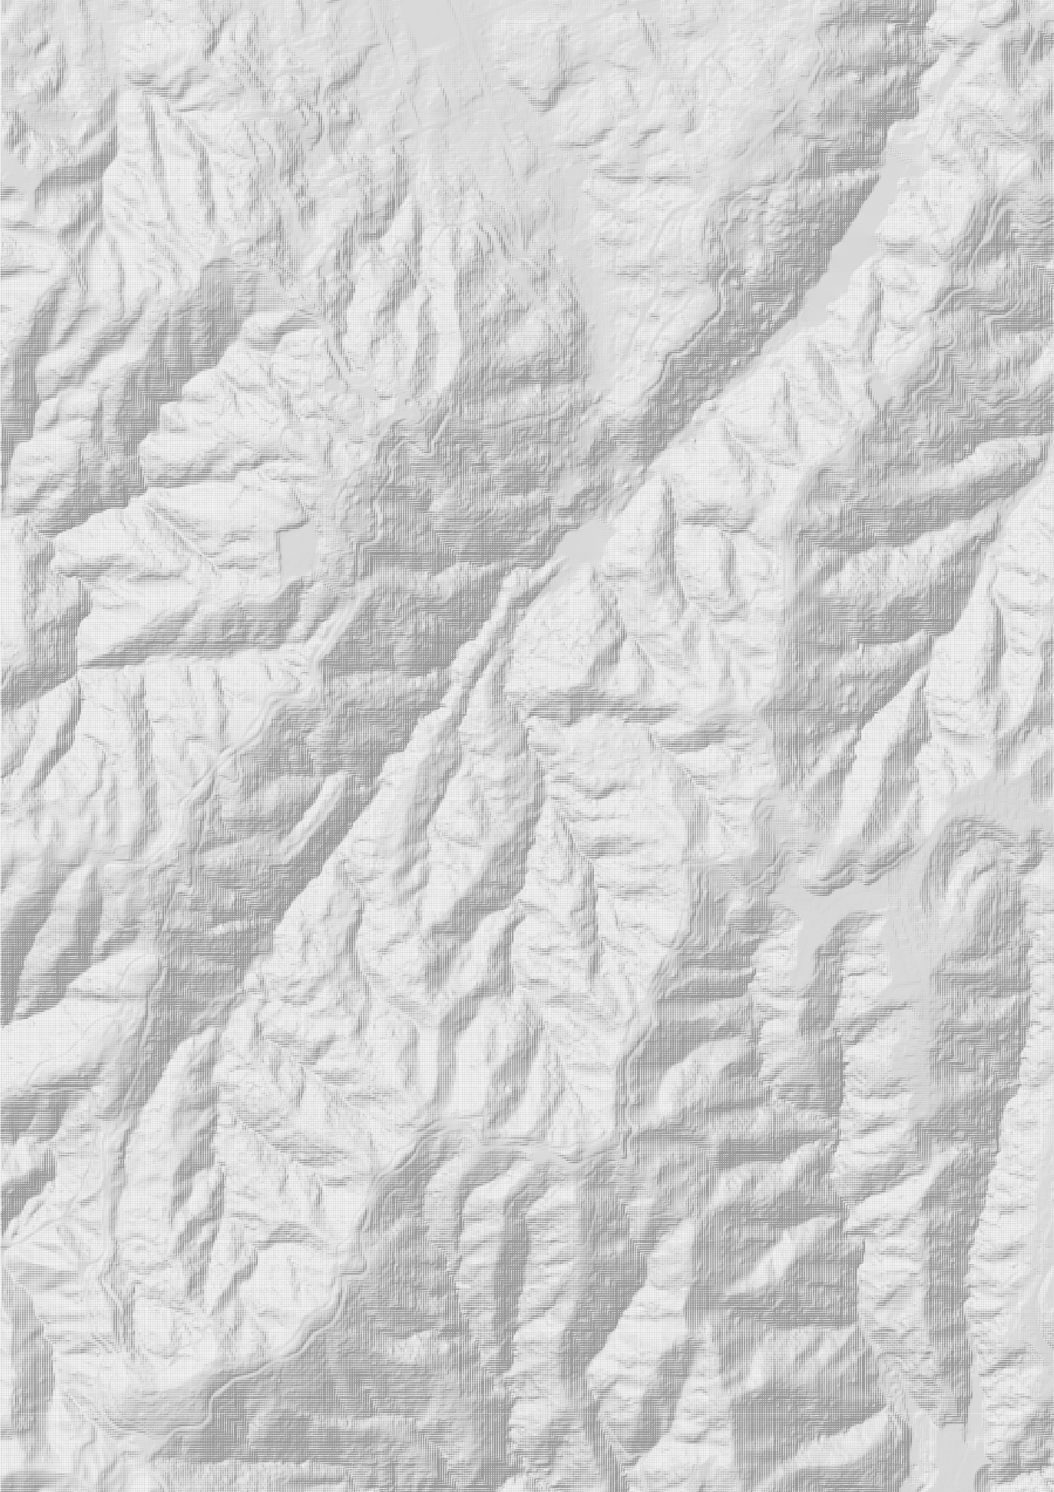
Have you ever flattened out a piece of crumpled paper and thought to yourself, “hmm, that looks quite like a hillshaded map”? If you don’t believe me, here’s an example.
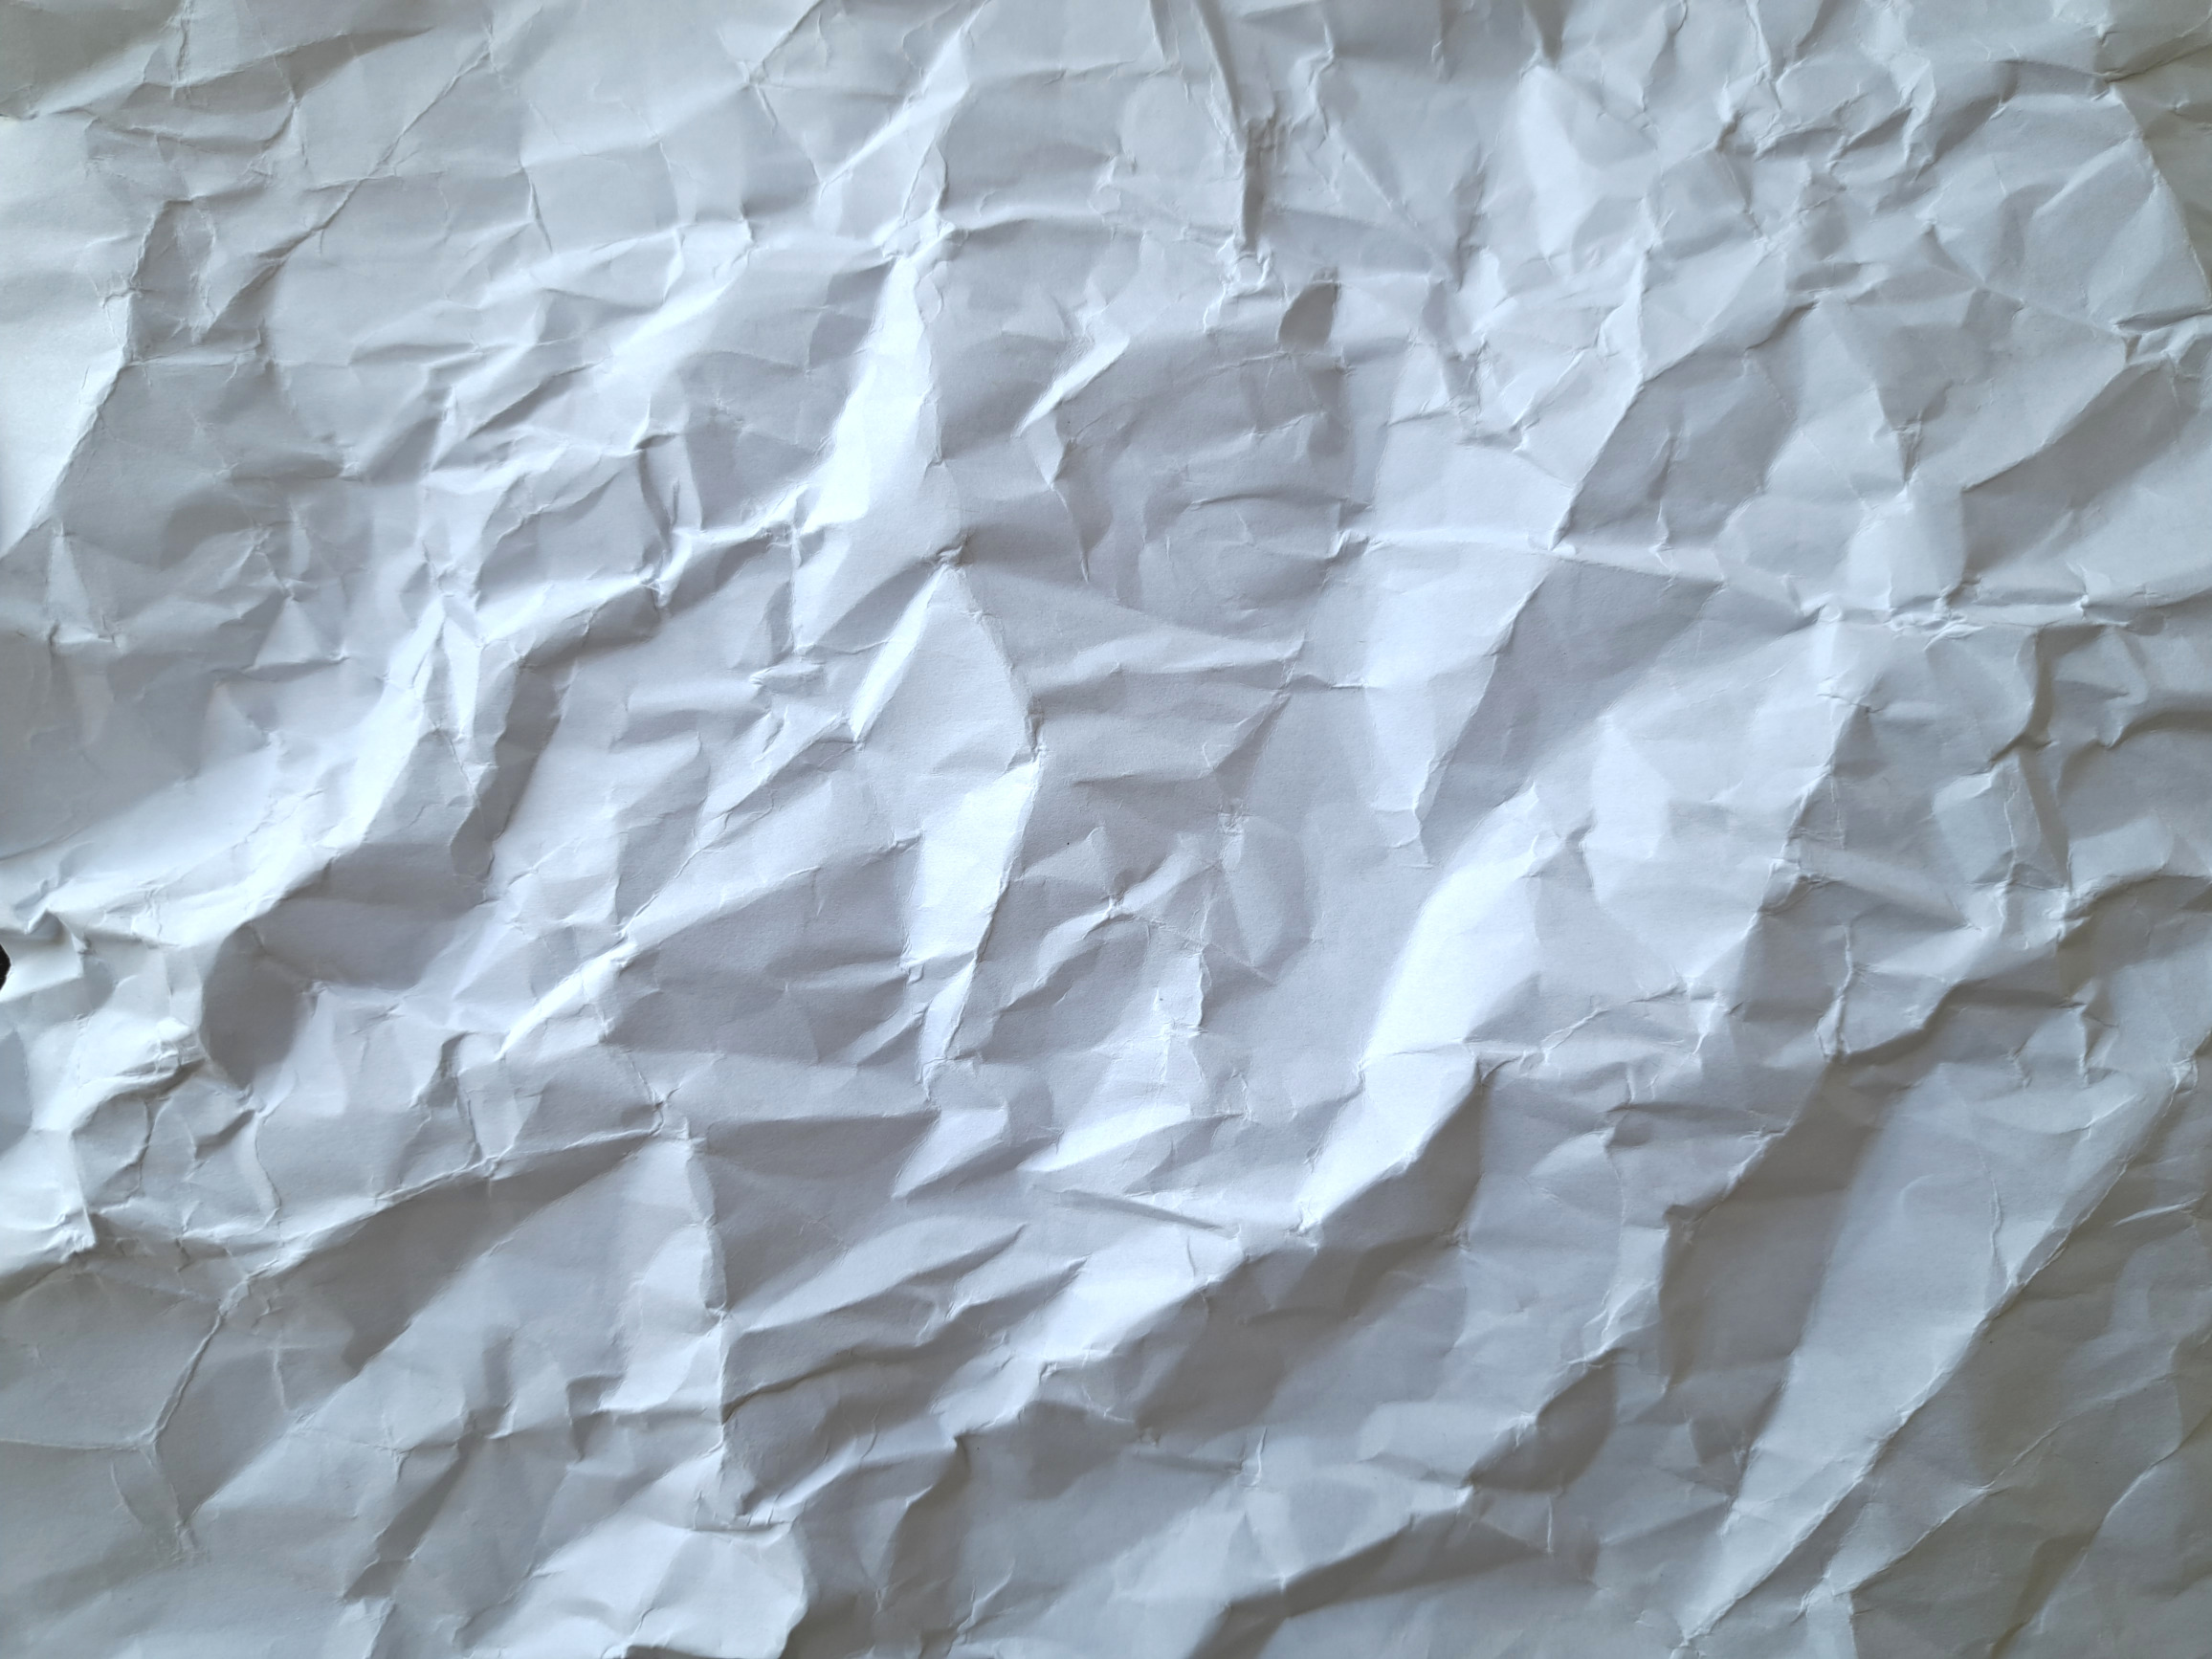
So, that’s the motivation here: to make a crumpled hillshade map of a real place—unlike the image above which is just crumpled paper.1 I tried this the last time I engaged with the 30 Day Map Challenge in 2023. There’s some more background on the idea there. Herewith the steps I went through this time around.
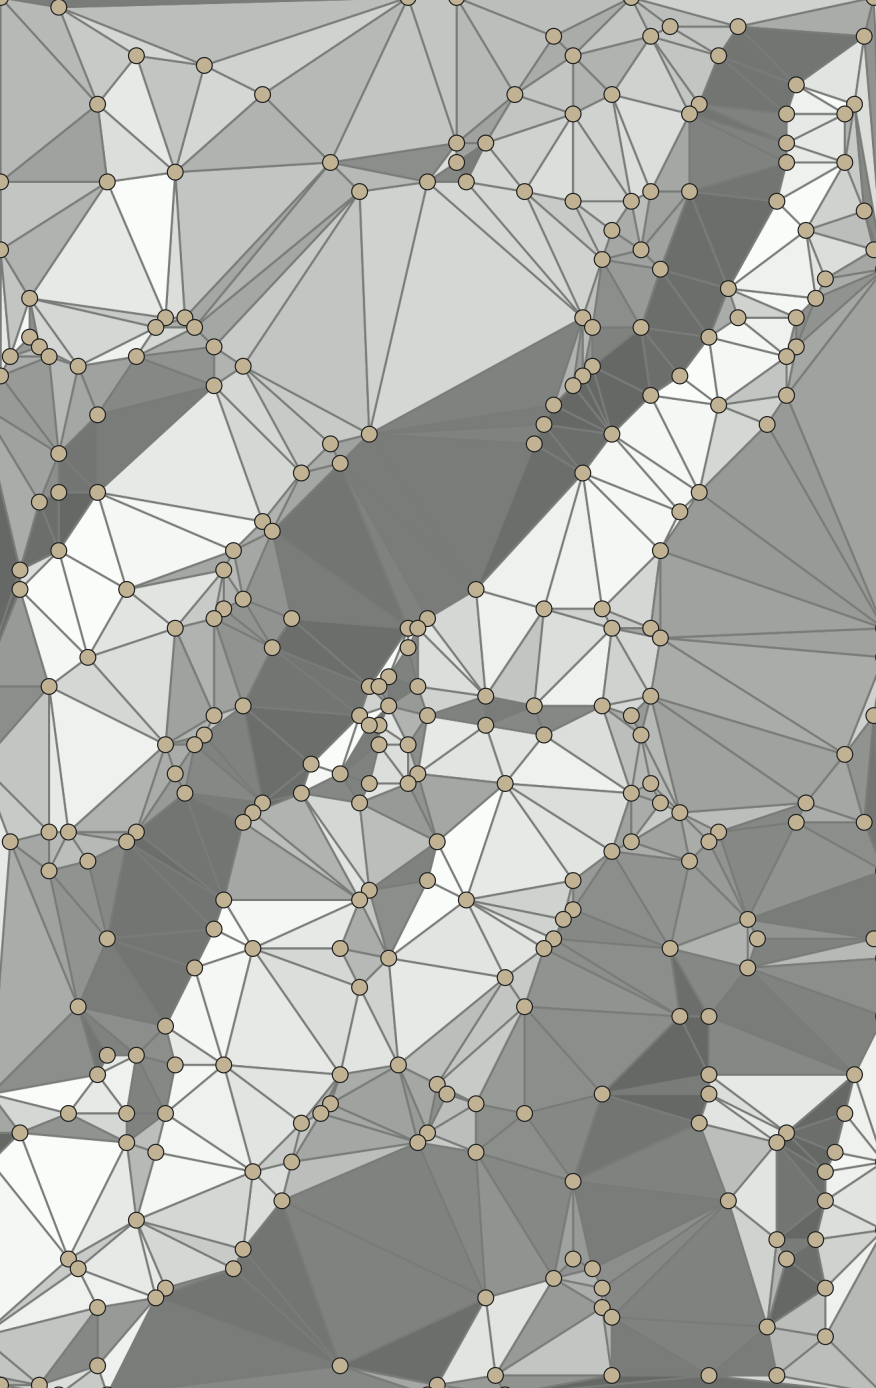
TIN and hillshade of chosen terrain
Since I’ve been working with it a lot lately the terrain around Zealandia once more. Last time I tried this, I used geomorphons as my guide to finding the folds I want to make.
This time, knowing that there really isn’t an automated method that works,2 I went with a more interpretative approach. I generated a TIN using the still excellent3 Landserf from Jo Wood. This TIN seemed better attuned to the structure of the terrain than those generated by other tools. I also tried using my new-found pass, peak, and pit-finding skillz to generate my own terrain aware TINs but that didn’t really work out. I don’t know if the Landserf TIN really is better, but it was my impression.
I then used the points from that TIN to generate a hillshaded TIN using the QGIS Whitebox Tools plugin. Then I loaded that, along with a hillshade view of the terrain into a drawing package.
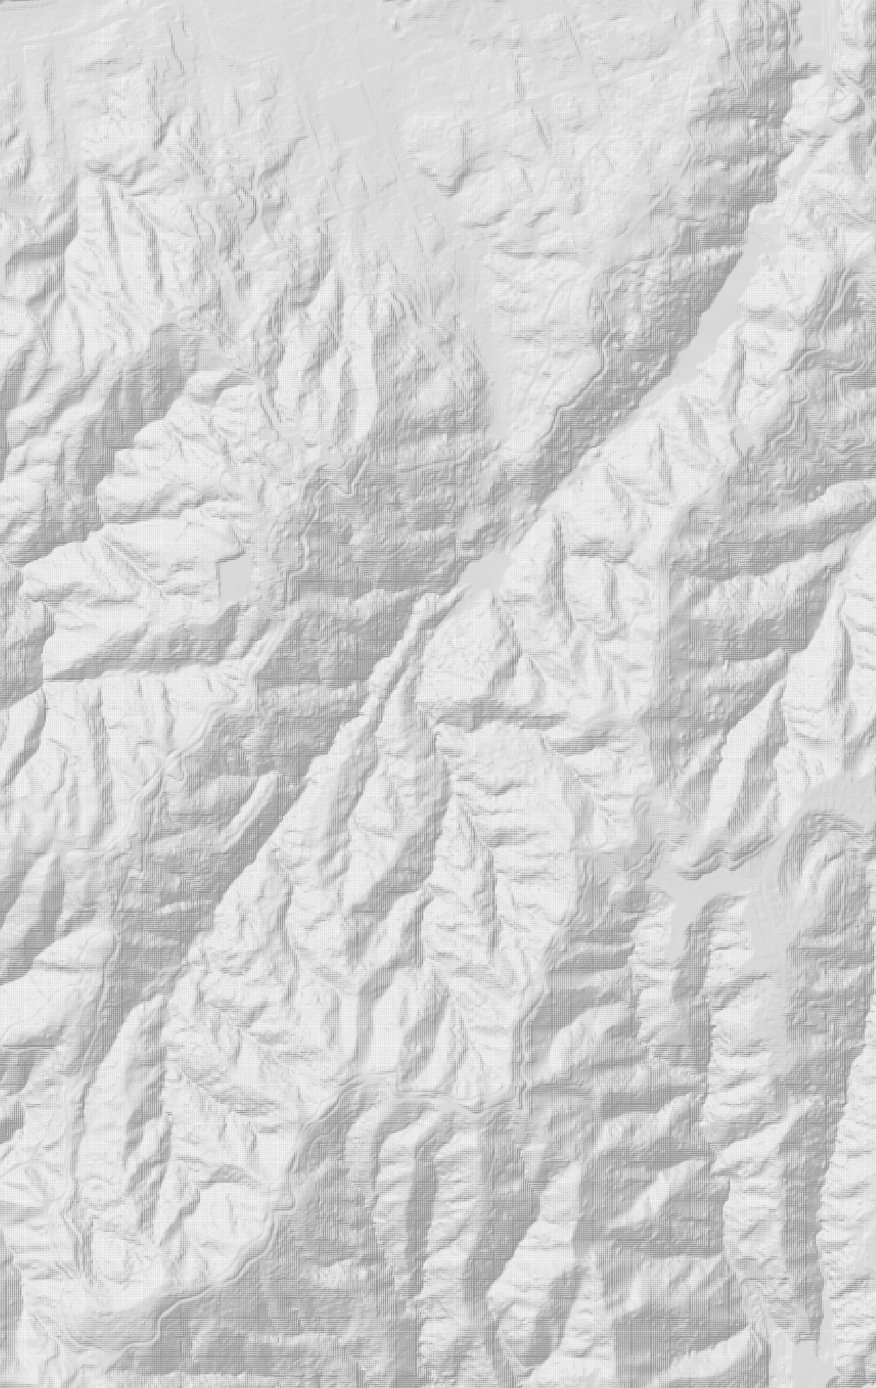
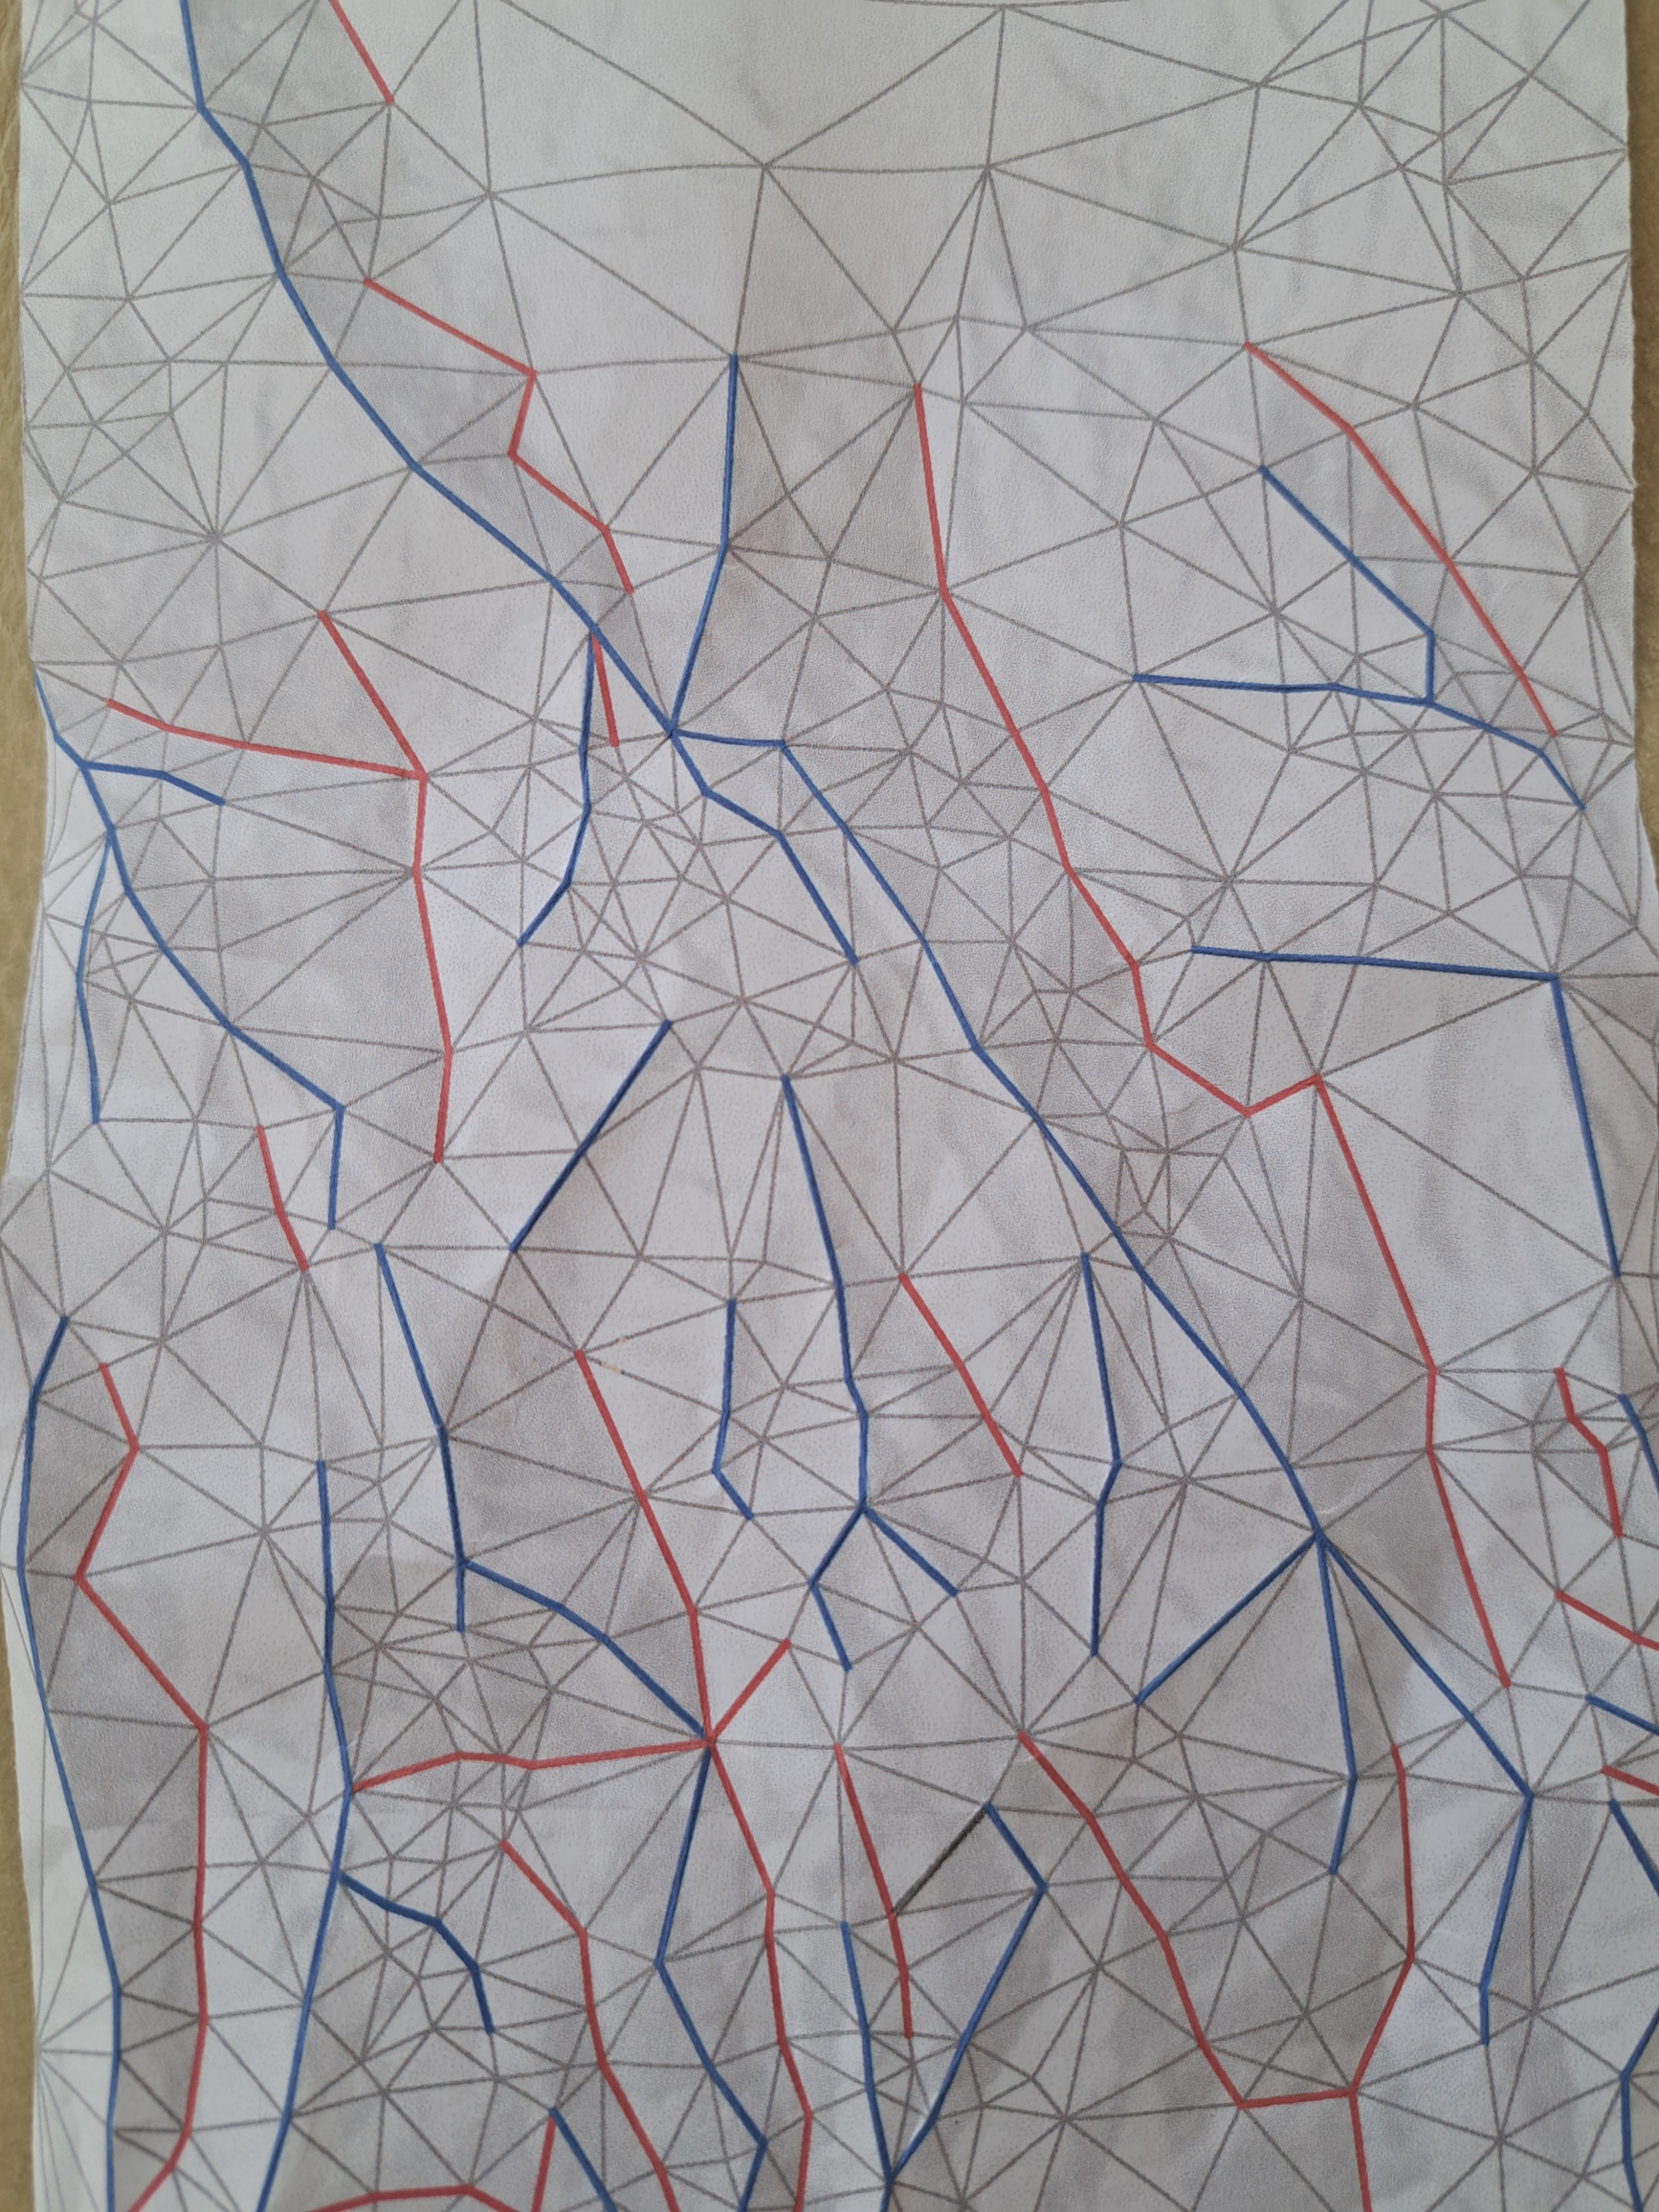
Drawing (crease) lines
Next, I imported those layers into Inkscape and drew some red and blue lines. Red lines for ridges, blue ones for courses (or thalwegs as I’ve come to enjoy calling them). From there, I print the lines on a piece of A4 and fold the lines ‘backwards’. What I mean by that is that I pinch the blue valley folds towards me on the printed side of the paper, so they come out as valleys on the other side of the sheet; and I also pinch the red mountain folds (but looking through the sheet of paper to find them) so that they come out as ridges. The reason for pinching the folds will become clear to you if you try this yourself. It’s just much easier to accurately follow an irregular crease line by sliding along it, pinching as you go.
Because I’m folding ‘backwards’ like this I have to mirror the fold pattern before printing it.
Anyway, at first I thought I’d try using just selected edges in the TIN. The image on the left is printed on the back of the sheet, and the image on the right is the resulting map on the other side. Hopefully you can see it reflects some of the landscape structure.

Not terrible, but it’s not a great idea to have opposite creases run right up to one another. There’s a whole mathematics of flat-foldability in origami that tells us what combinations of what kinds of creases meeting at a point can be collapsed flat, but flat isn’t what we are aiming for here. It also turns out that _the paper itself will do some of the work for you if you let it, by leaving gaps between the creases.
Curved lines
Anyway, next, I allowed myself leeway to follow the hillshade more than the TIN, and also made the crease lines curved. Curved folds on paper do interesting things all on their own.

I thought I’d lean into that in my ‘map’.
In practical terms, the process of pinch-folding curved lines creates extra indentations and marks, unless you are impossibly precise at manually folding this kind of thing. and those actually help4 as much as any curved fold side-effects do.
So, here’s the curved creasline pattern I wound up with.

What about using just one set of creases?
And here’s what I got folding only the valleys (on the left), and only the ridges (on the right).
I was interested to see if either set of folds alone, but assisted by the paper’s curved-crease induced preferences would do a better job than the other. I was surprised to find, at least for the set of creases I am using, that the ridge lines seem more effective. The valleys in this terrain are more incised than the ridgelines hence my expectation that they would work better. It may be that the ridgelines, as a discontinuous set of more ‘gestural’ lines do a better job of carrying the overall landscape structure.
In any case, it’s pretty clear we need both. Below is the result of making both sets of creases next to a GIS hillshade.

Clearly, I’d need a much bigger sheet of paper5 to come close to capturing the detail that the GIS hillshade includes, but as a generalised view reflecting the largest structural features of the terrain I’m reasonably happy with this. With the addition of some other elements it can become a bona fide map.
And finally…
For a final map, I also printed the Zealandia fenceline on the back of the sheet and traced it through in pencil to give at least a little context. For the purists I’ve added a north arrow, a title, and an (approximate) scalebar.
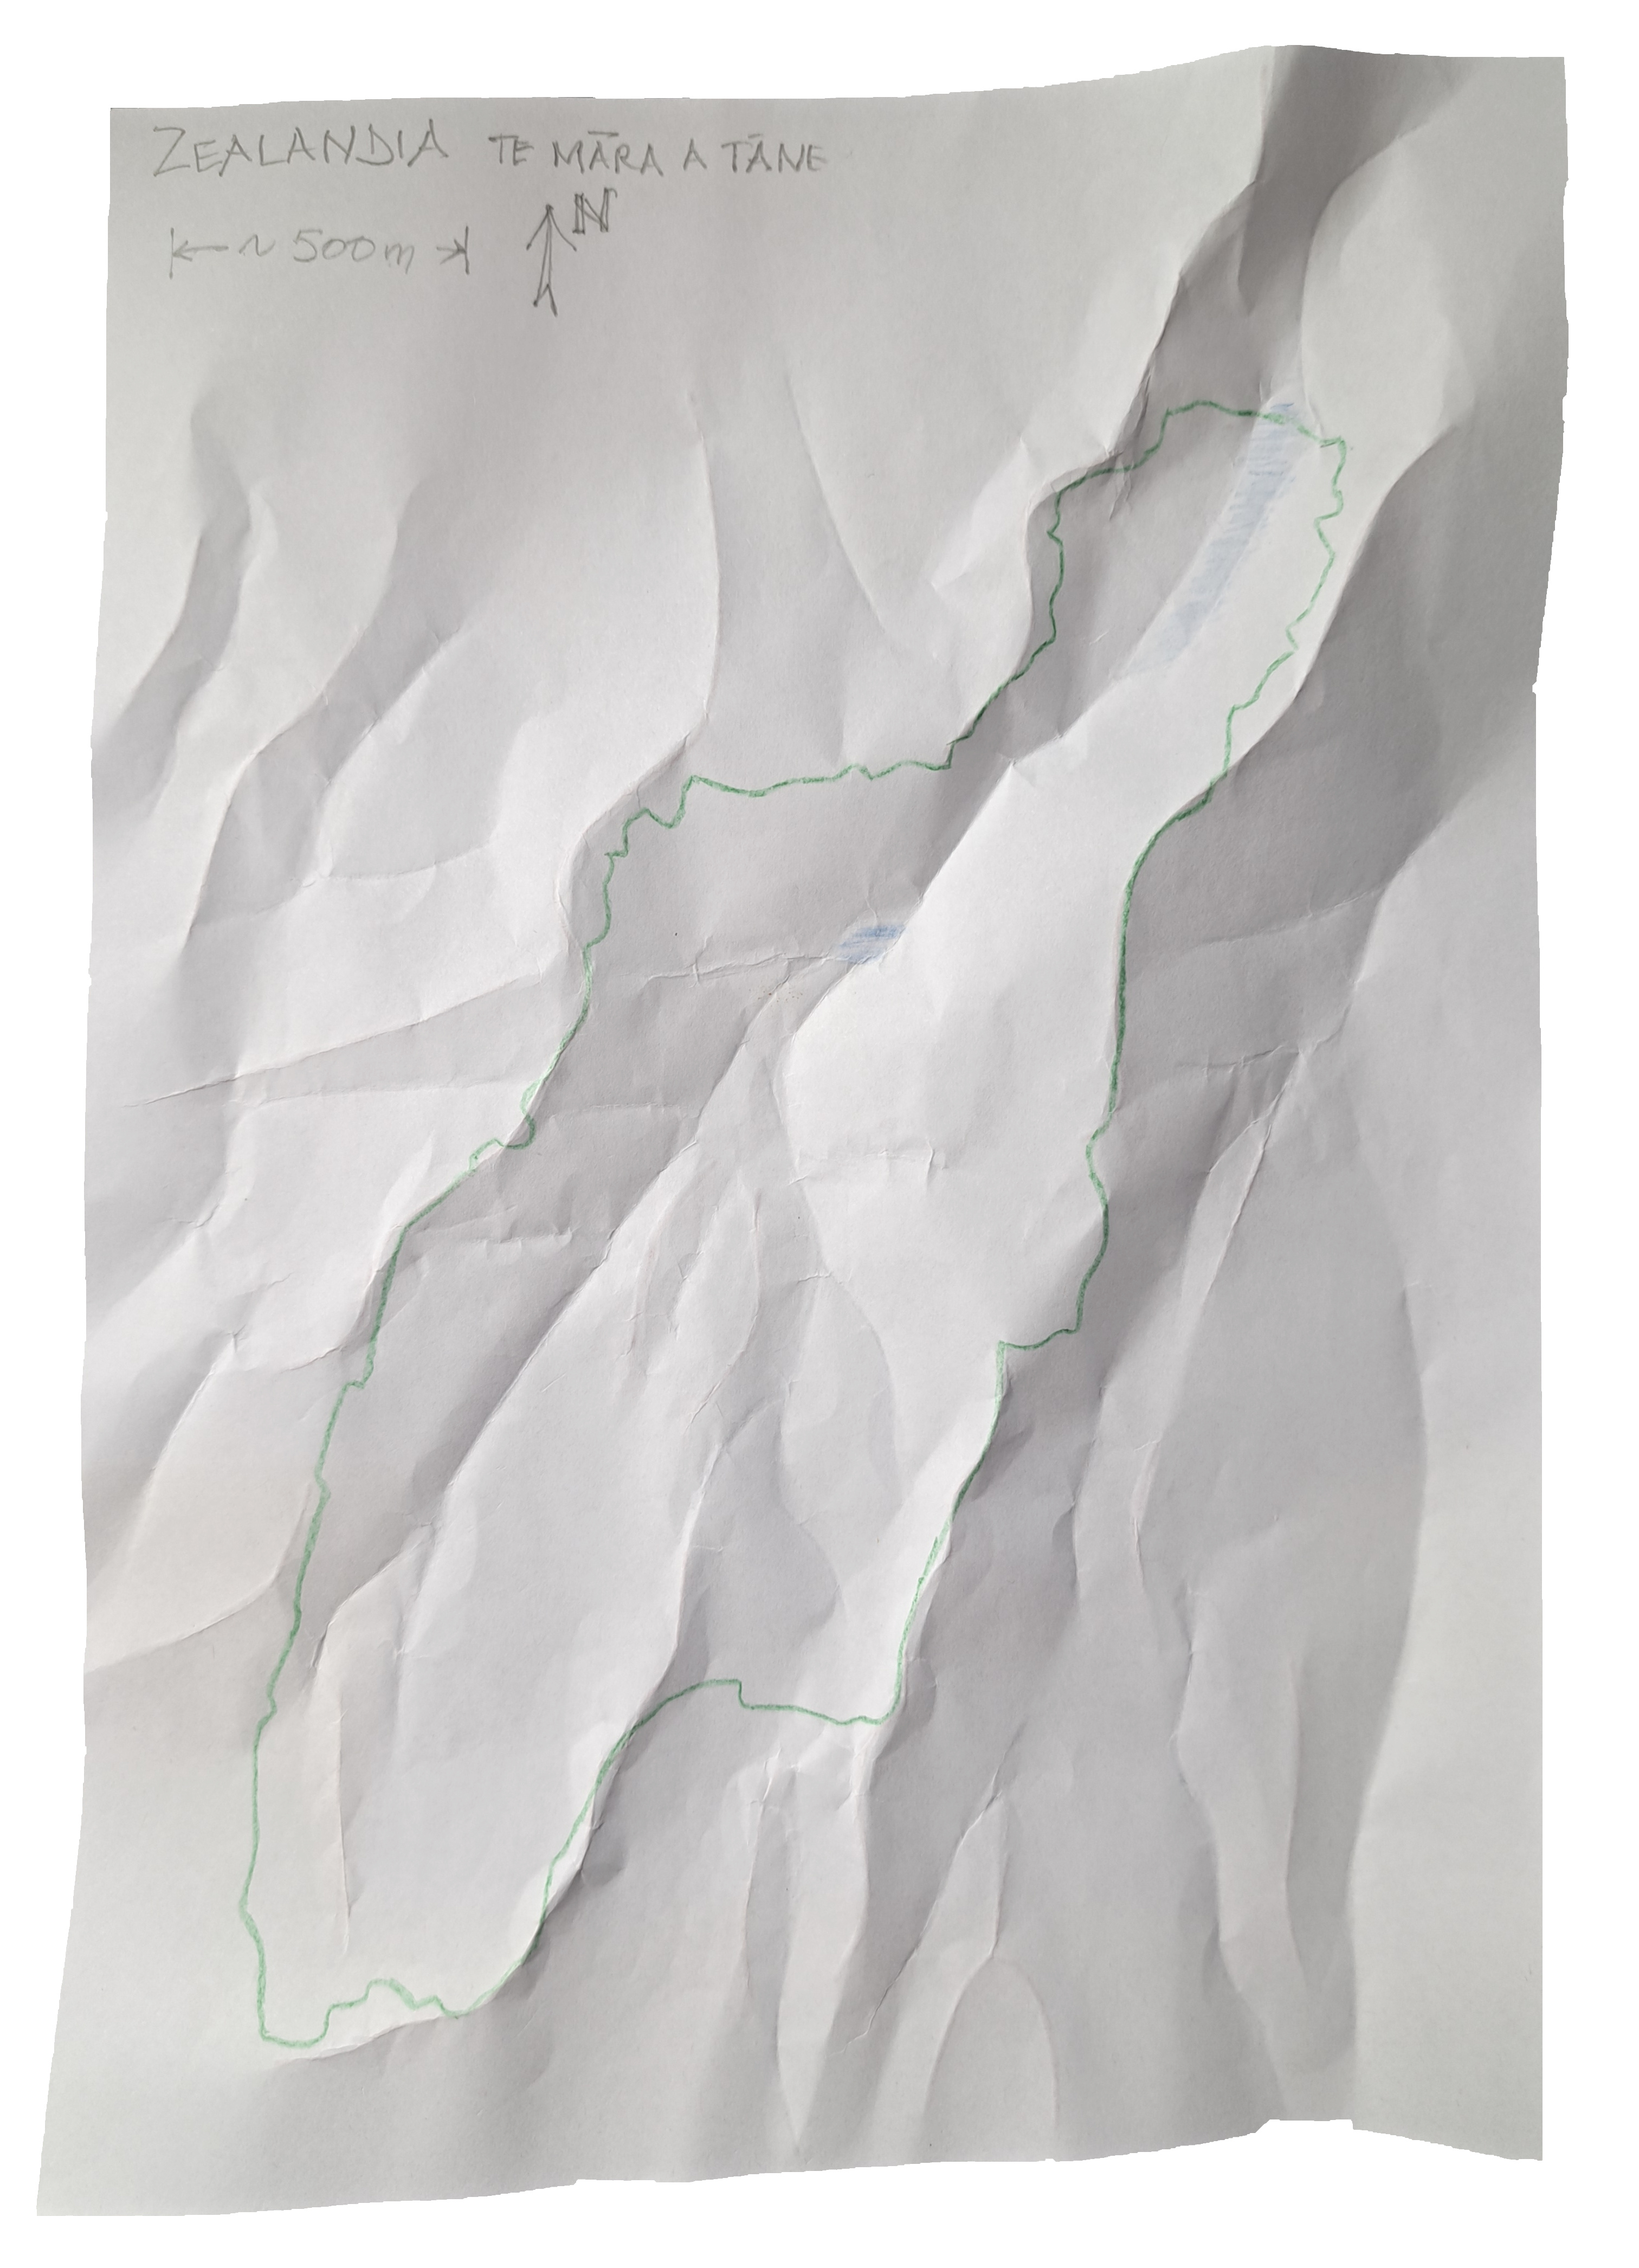
For the record I printed the crease pattern on day 8, and did all the drawing and folding on day 9, so I didn’t use a computer to make this map… so, notwithstanding all the digital prep, this is an analogue map.6
Next time
If there’s a next time I may explore the possibilities of using a heavier paper and wetting it. So-called wet-folding allows for the use of heavier paper and fixes the final shape more permanently, a bit like papier-mâché. The pinch-folding I do to make these terrains is already quite ‘sculptural’, and heavier paper that could eventually hold the shape permanently feels like a good next step.
![]()
Footnotes
In an infinite universe it must be a map of somewhere, right?↩︎
And after abandoning surface networks as just too intricate.↩︎
If slightly arcane.↩︎
At least I think they do↩︎
And a lot more time.↩︎
Setting to one side the fact that the only way I can show you it is using a photograph taken with a digital camera and posted on the inter… wait, wut?! Doh!↩︎